Introduction
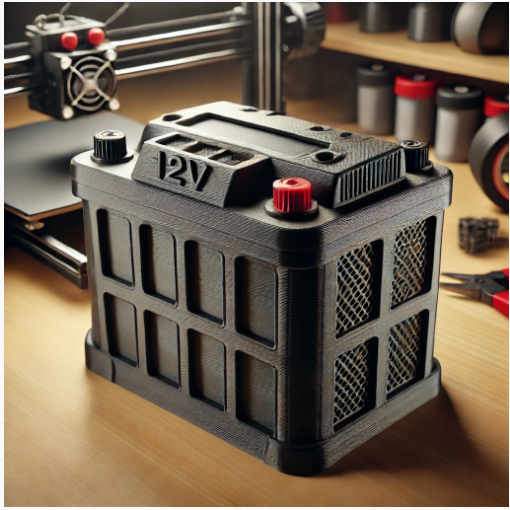
An original way to keep your battery from dust, moisture, and inadvertent harm is with a 12V battery cover 3D print. Whether your interests are DIY, engineering, or hobby, 3D printing a bespoke battery cover guarantees a precise fit, longevity, and economy of cost. In this guide, we explore how to design, print, and optimize a 12V battery cover, including the best materials, tools, and troubleshooting tips.
Why 3D Print a 12V Battery Cover?
- Customizing: A 3D-printed cover is made to meet particular battery sizes and needs unlike off-the-shelf covers.
- Particularly if you need a custom design, printing a battery cover is sometimes less expensive than buying one.
- Superior filament choices provide lifetime and environmental factor resistance.
- Ease of Replacement: Should damage arise, you may just reprint one rather than purchasing a new cover.
Key Considerations for 3D Printing a 12V Battery Cover
1. Cover Design
- Excellent design is absolutely essential before printing. Thought about:
- Measuring your battery exactly can help to guarantee a tight fit.
- Including venting openings will help to dissipate heat if necessary.
- Clips or screw holes assist to lock the cover.
- Cable routing: Plan connectors and wire access points.
- Create a custom design or discover ready-made STL files on sites like Thingiverse and Printables using CAD programs such as Fusion 360, Tinkercad, or SolidWorks.
2. Best Materials for a 12V Battery Cover
Selecting the right filament impacts the durability and effectiveness of the cover. Here are some of the best materials:
- PLA (Polylactic Acid): Easy to print, affordable, but less durable in high-heat conditions.
- ABS (Acrylonitrile Butadiene Styrene): More heat-resistant but requires a controlled environment to prevent warping.
- PETG (Polyethylene Terephthalate Glycol): A great middle ground; strong, heat-resistant, and easy to print.
- Nylon: Extremely durable and impact-resistant, but requires a higher-end 3D printer.
3. Printer Settings for Optimal Results
- These settings will help you guarantee a strong print:
- For a mix of speed and quality, set layer height at 0.2mm.
- 30–50% infill density for improved strength without too much filament utilization.
- Minimum two to three layers for structural integrity define wall thickness.
- Use a heated bed and adhesive—like glue stick—for improved grip.
- If your design features overhangs, let your slicer program create supports.
4. Post-Processing and Finishing
After printing, post-processing can enhance the final product:
- Sanding: Smooth rough edges for a professional finish.
- Painting: Use spray paint or acrylics for aesthetic appeal and added protection.
- Assembly: If your cover consists of multiple parts, use screws, clips, or adhesives for assembly.
Common Issues and Troubleshooting
- Warping: Use a heated bed and print in a temperature-controlled room.
- Layer separation: Increase extrusion temperature and slow down print speed.
- Fitment issues: Double-check measurements before printing and perform test prints.
READ MORE – The Ultimate Guide to X-Rated 3D Printer Files: Where to Find Them & Legal Considerations
FAQs:
1. What is the best filament for printing a 12V battery cover?
PETE’s simplicity of printing, heat resistance, and durability make it advised.
2. Is a ready-made 3D model for a battery cover something I could download?
Indeed, sites like Printables and Thingiverse provide free STL files for several battery cover designs.
3. How long does it take to 3D print a battery cover?
Printing time depends on size, infill density, and printer settings, but typically ranges from 3 to 8 hours.
4. Do I need a special 3D printer for battery covers?
No, a standard FDM printer with a 0.4mm nozzle is sufficient, but higher-end printers can improve strength and quality.
5. How do I ensure my battery cover stays securely in place?
Incorporate snap-fit designs, screw holes, or velcro straps for a secure fit.
Conclusion:
A sensible and reasonably priced way to protect a 12V battery is with a 3D printed cover. Custom-fit covers created with appropriate design, material choice, and printing settings will be robust. Whether for automotive, marine, or DIY projects, this guide ensures you get the best results for your 3D printing needs.


