
Introduction
Maintaining air quality and comfort in any environment depends on appropriate ventilation.
One frequent problem for many households, therefore, is that floor vents meant to guide airflow can occasionally get blocked or closed. Whether it’s due to furniture placement, dust accumulation, or a poorly designed vent cover, this can result in inadequate ventilation, temperature discrepancies, or ineffective heating and cooling. The positive side is that 3D printing can provide a unique and inventive approach to maintain the operation of your floor vent. This post will guide you step-by-step on how to create and 3D print a bespoke vent cover, guaranteeing correct airflow and supporting the preservation of a pleasant living environment.
Why Should Floor Vent Covers Be 3D Printed?
When it comes to home maintenance, floor vents are often neglected, but adequate ventilation and comfort depend on them staying open and working properly. Although conventional vent covers can be effective in certain situations, they are usually made as one-size-fits-all solutions that may not match every type of vent or interior style. Here are a few justifications for why 3D printing is an excellent option for producing a bespoke solution to maintain the opening of your floor vent:
- Customisation for Distinct Spaces
Your floor vent can be in an odd location and not all houses have standard-sized vents, so fitting a conventional cover could be challenging. 3D printing lets you design a cover to exactly fit your vent’s size and shape, no matter its size or form. - Better Airflow
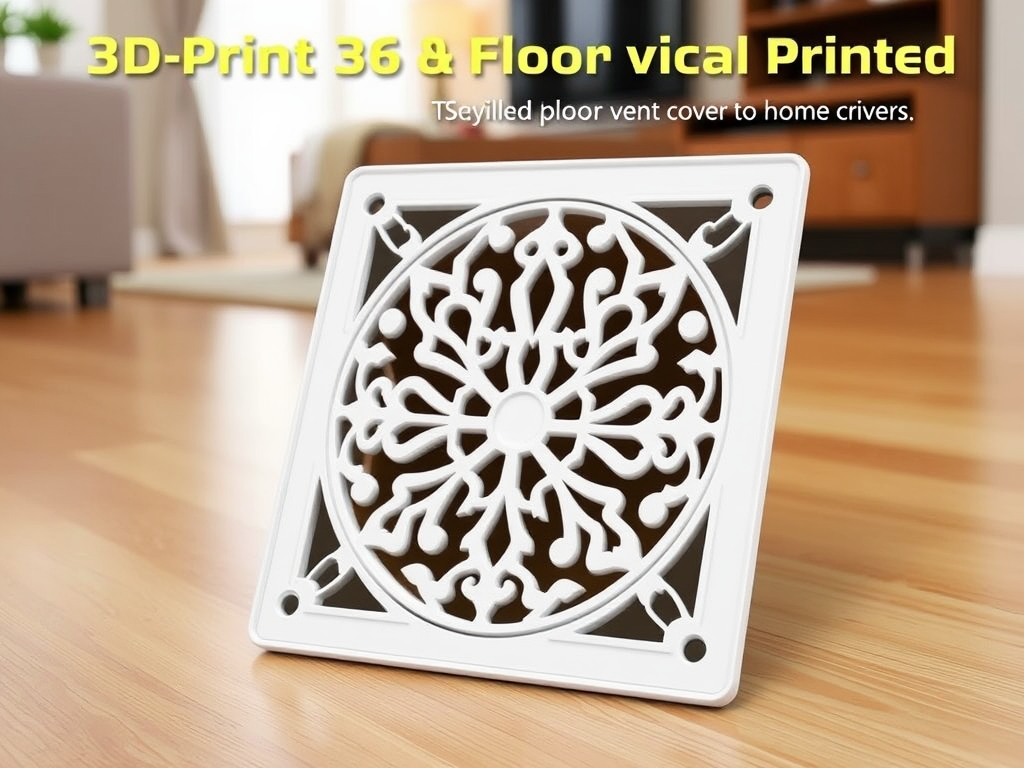
A custom 3d-printed vent cover lets you create elements that maximise airflow. While maintaining the vent secure, you might include strategically located holes, slats, or grilles that improve air circulation. - Visual Attraction
While 3D printing allows you to add a personal, fashionable touch to your home, traditional vent covers are usually bland and simple. 3D printing lets you design a vent cover to fit your room’s decor, whether you like a sleek modern style or something more ornamental. - Affordable
3D printing offers a low-cost, quick option rather than purchasing a pre-made vent cover, which may not suit your requirements. You can design your unique piece at home without spending money on difficult-to-find items.
Creating a Custom 3D-Printed Floor Vent Cover
Designing a 3d-printed floor vent cover requires some fundamental design concepts and a few crucial steps to ensure the correct operation of your unique item. Here is a step-by-step plan to assist you in beginning your work:
- Floor Vent Measurement
Accurate measurement of your floor vent’s dimensions starts the process of creating a bespoke vent cover. The vent opening’s length, width, and depth will need to be measured. This will be simple if your vent is rectangular; otherwise, measure it multiple times to ensure a correct fit if it’s irregular. You should also measure the depth of the vent frame, as this will affect how thick your vent cover needs to be. - Select 3D Design Tools.
3D modelling software will help you to create your vent cover. Among the well-liked choices for producing functional and thorough designs are:
- Tinkercad: Perfect for basic designs, like a vent cover, and easy to use for beginners.
- Fusion 360: A more sophisticated design tool that offers exact control for complicated tasks.
- SolidWorks: Especially when dealing with complex aspects, it is perfect for professional-grade designs.
- Create the Vent Cover
Using your design tool, first build the fundamental form of the vent cover. Usually, this will be a flat rectangle or square fitting the size of the vent aperture. From there, you may include specifics like:
- Slats or Grills: These characteristics let air pass through the vent while still offering a substantial barrier to stop debris from falling in. Depending on your choice, you can create the slats either horizontally or vertically.
- Optimising Airflow: Try out various slat or opening designs to guarantee optimal airflow. You may, for instance, design angled slats or a honeycomb pattern to guide airflow in a certain way.
- Mounting System: Include elements in your design that let the vent cover remain in place. Clips, grooves, or tabs that you make fit firmly into the vent frame.
- Improve the 3D Printing Design.
When your design is complete, you should get it ready for 3D printing. Make sure the design is optimised for the material you intend to use and is printable. Here are some items to think about:
- Thickness: Ensure the vent cover is thick enough to last but not so dense that it becomes awkward or weighty.
- Support Systems: If your design has overhangs (such as slats), you may need to include support systems to prevent the print from collapsing during printing. Specific slicing tools can create these supports automatically.
- Tolerance: If the vent cover needs to fit into a specific area, ensure you allow sufficient tolerance (room) for the cover to slip or clip into position without being too tight.
- Design Export
When the design is finished, save it as an STL file for 3D printing. 3D printers use this standard file format.
3D Printing the Cover of the Floor Vent
Your design is complete; now 3D print the cover. To achieve the best outcomes, follow these instructions:
- Choose the Appropriate Material
Durability and utility depend on your choice of material for 3D printing your floor vent cover. Some good alternatives include:
- Polylactic Acid (PLA): Perfect for low-stress uses or ornamental items. Though not the most outstanding choice for high-durability components, PLA prints easily and provides a nice finish.
- PETG (Polyethene Terephthalate Glycol): A more robust and flexible material, PETG provides excellent impact resistance, making it a suitable choice for functional components like a vent cover.
- ABS (Acrylonitrile Butadiene Styrene): Tough, heat-resistant, and flexible, ABS is a fantastic choice for practical 3D prints subjected to heat or regular handling.
- Configure Your Printer
Prepare your 3D printer once you have chosen the material. Change the printer settings to fit the material you are using:
- Most prints require a layer height of 0.2 mm.
- Infill Density: A lower infill density (20-30%) will be enough, as the vent cover doesn’t have to be solid.
- Print Speed: Choose the print speed based on the intricacy of your design. Intricate details benefit from slower speeds.
- Begin Printing
Start printing after your printer is calibrated and the settings are set. The printing procedure could last from four to twelve hours, depending on the size and complexity of your vent cover. - Post Processing
Carefully take the vent cover off the print bed after the print is finished. Remove any support structures if there are any. For a superior finish, sand down any rough edges or level out surfaces. Should you choose, you can even paint the cover to match your decor.
Putting in the 3d-Printed Floor Vent Cover
The vent cover is printed and polished; now it is time to put it on your floor vent. Here is how to accomplish it:
- Examine the Fit
Put the vent cover over the vent aperture to test it. Make sure it fits tightly and doesn’t rock. Should the cover not fit tightly, you can resize it in your design tool and print it again to fit better. - Fasten the Cover
Your design will determine whether you snap the cover into place, use clips, or add double-sided tape for a more temporary fix. - Examine Airflow
Make sure the vent cover doesn’t block the airflow. Check the system to confirm that the cover remains in place without moving and that air flows freely through the vent.
READ MORE – 3D Print Skeleton Hand Drawer Pull: A Creative and Unique Design Idea
FAQs:
- May I print a vent cover for any of the vents?
Absolutely! By measuring the size and shape of the vent entrance, you may create a cover that fits any vent. - What material is ideal for printing a floor vent cover?
Durable, flexible, and impact-resistant, PETG makes an excellent material for floor vent covers. Although it may not be as robust for functional components, PLA can also be used for decorative purposes. - How long does it take to produce a cover for a floor vent?
The size and complexity of your design will determine the print time. Usually, it could range from four to twelve hours. - May I paint my 3D printed vent cover?
Absolutely! Once printed, you may paint the vent cover to complement the design of your house. - How can I make sure my vent cover fits exactly?
Measure the vent precisely and make sure your 3D model matches those measurements. Print a prototype and modify it as required to check the fit.
Conclusion:
Printing a bespoke floor vent cover in 3D is a quick and easy solution to frequent ventilation problems. Designing a custom vent cover can help you ensure correct airflow, add a distinctive aesthetic touch to your area, and create a functional solution that exactly meets your needs. 3D printing’s adaptability lets you play around with various designs, materials, and features to produce a vent cover that improves the utility as well as the look of your house.


